Getting started with AToM3 Meta-Modeling
A tutorial done quick by Denis Dubé, 2006-08-14
1) The fastest way to start AToM3 is with "atom3NoSplash.py"

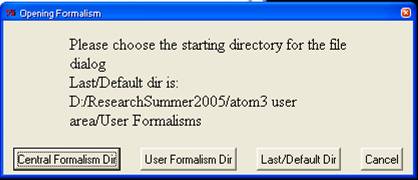
2) Choose Central Formalism Dir
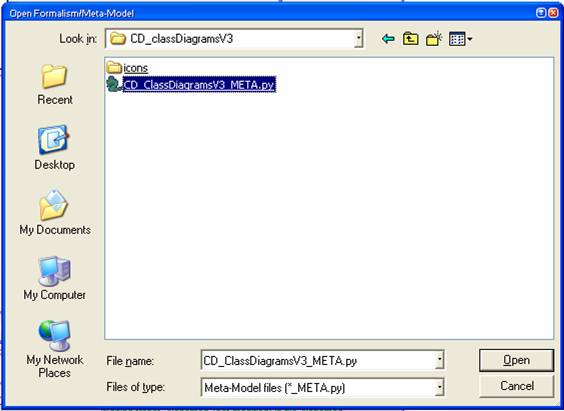
3) Choose CD_ClassDiagramsV3_META.py the lastest version of the Class Diagram formalism as of 2006-08-14
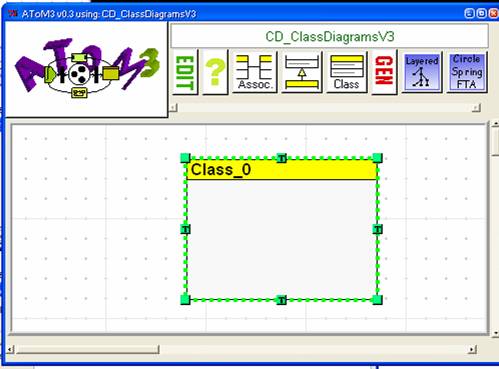
4) Click on the "Class" icon (in the toolbar) then while holding down control, press the right mouse button on the canvas. A class appears (clicking on it selects it).
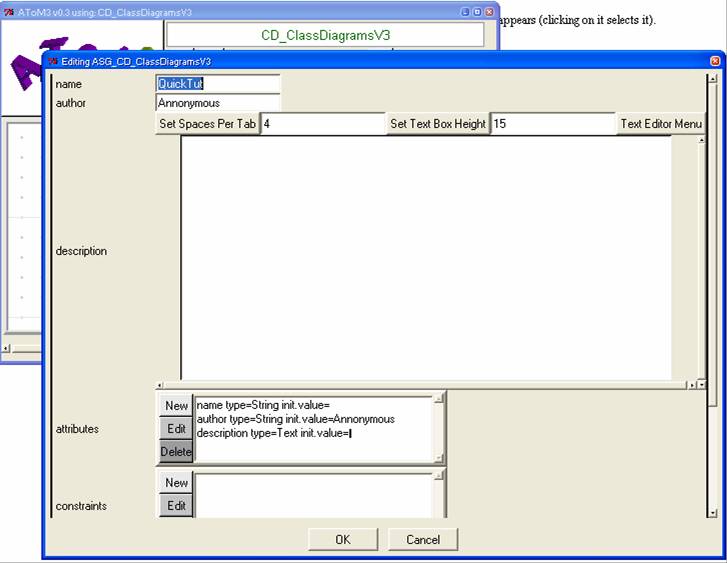
5) Press Edit (in the toolbar), and give the formalism a name, such as "QuickTut" (CAUTION: It is important that all the names you give are unique for all of the files in AToM3 including other formalisms. This holds true for the names of Classes and Associations! Failure to do so *should* result in an informative error message, but it's best to keep this in mind from the start. If you want a new formalism based on an old one, see the advanced tutorial.).
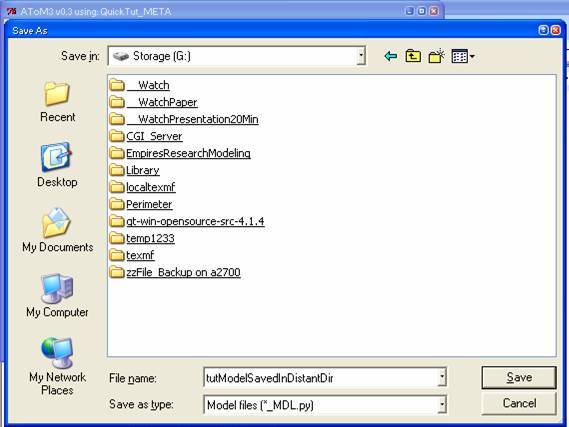
6) Press Control-S to save. For formalisms to work correctly, you must save them in EITHER "Central Formalisms" or "User Formalisms" (i.e.: D:\user area\User Formalisms\QuickTutorialDir\QuickTutorial_CD_MDL.py is a good place).
ATTENTION:
VALID (for the X formalism):
~\User Formalisms\X\X_MDL.py
~\User Formalisms\Foobar\X_MDL.py
INVALID (for the X formalism):
~\User Formalisms\X_MDL.py ß Observe: this is directly in User Formalisms
~\User Formalisms\X\X\X_MDL.py ß Observe: this is a sub-sub directory of User Formalisms
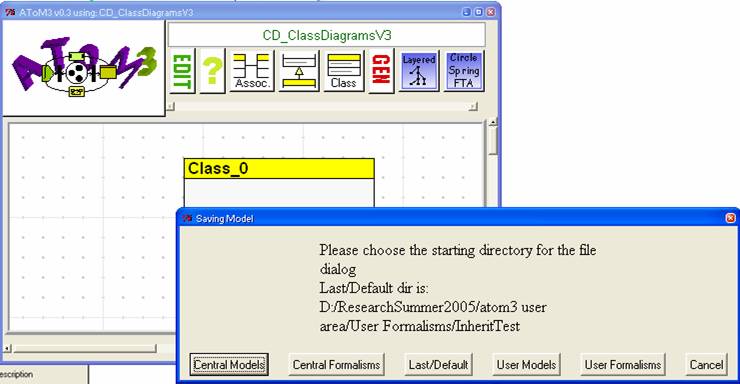
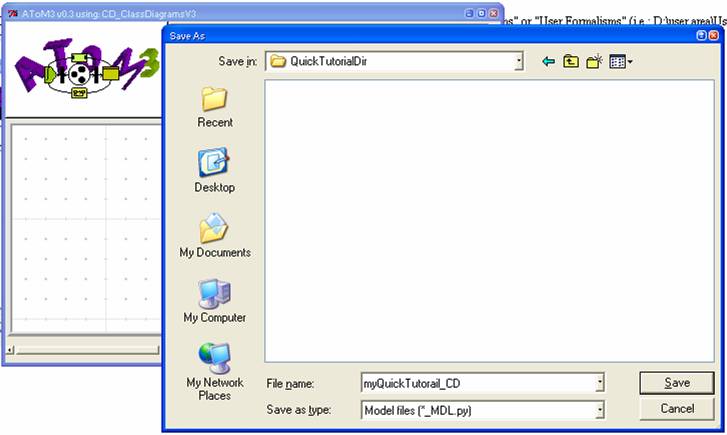
7) Final save dialog…
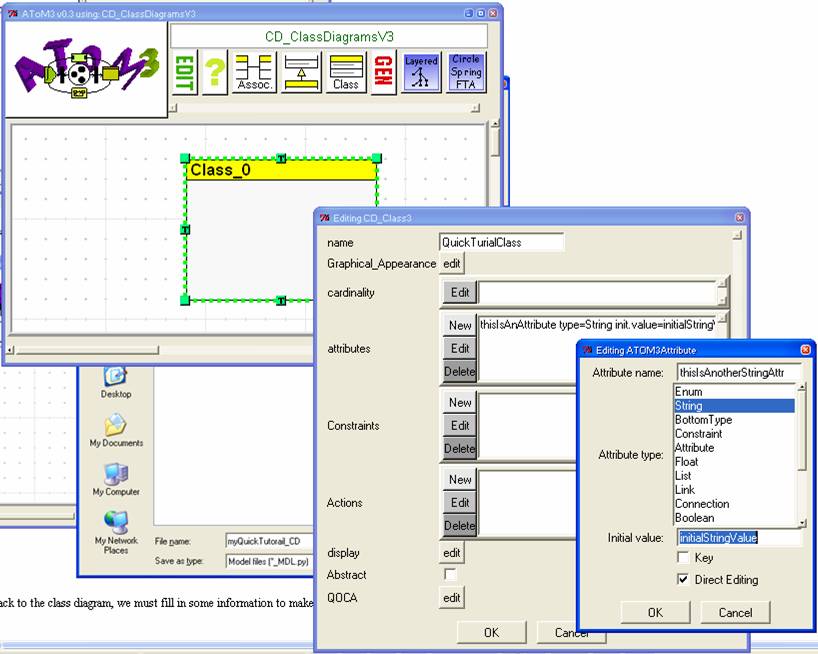
8) Ok, back to the class diagram, we must fill in some information to make it useful :)
Simply double-leftclick on a class to edit it (or press E while mousing over it, or right-click to menu your way to editing)
BTW: The QOCA attribute on the bottom with the edit button is a way to add declarative constraints to your models. The high level constraints available to you are hidden away in the file: atom3\Kernel\Qoca\atom3constraints\OffsetConstraints.py (although if your going to use QOCA make sure you enable the solver in the AToM3 options… such as by clicking on the AToM3 logo in the top left).
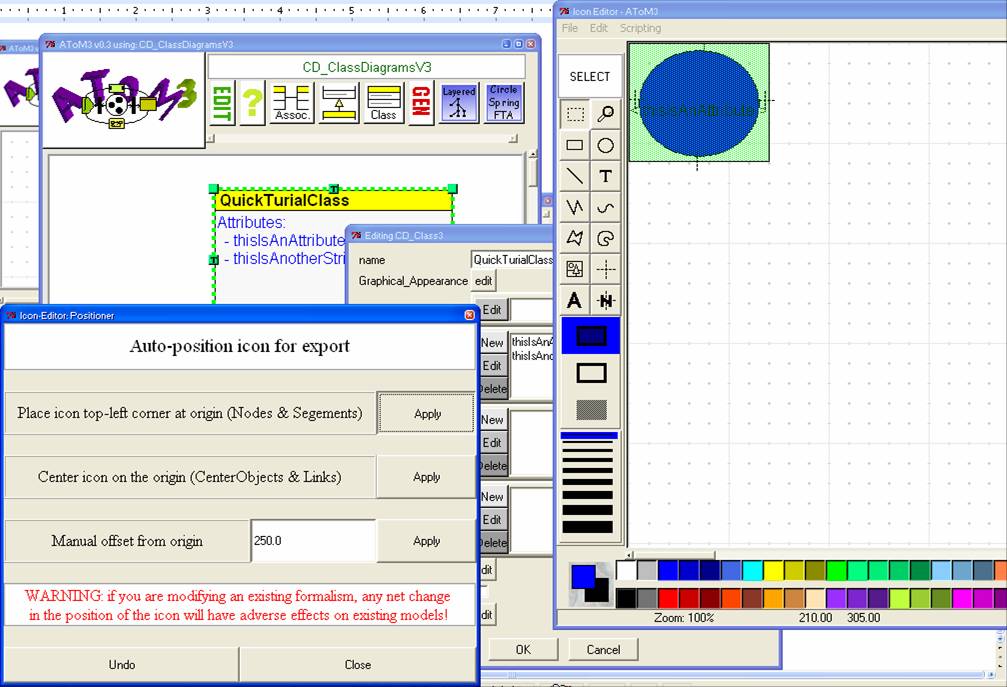
9) Give the Class some sort of visual representation (otherwise bad things can happen).
a) Click on Graphical_Appearence edit button
b) Start drawing stuff from the left-side toolbar of the IconEditor
c) Make sure you have the connectors (+ signs) or you cannot draw edges between this icon and another icon.
d) Position your icon in the top-left otherwise save/load behaviour is flaky. Press F2 to bring up the automatic positioner. (Control-S to save also brings up the positioner)
e) Save and exit the IconEditor (Control-S).
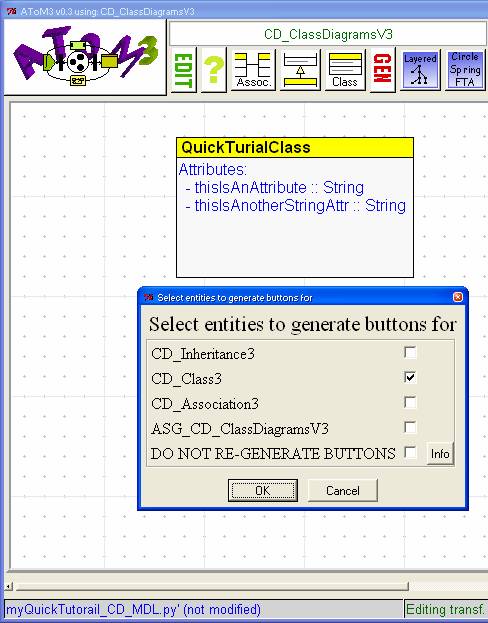
10) Code generation. Just press the red GEN button in the toolbar. You usually want to generate buttons just for CD_Class3 entities, unless you've manually created/modified the buttons model, in which case you will not want to re-generate the buttons (i.e.: after generating this first time). Buttons are stored in the myFormalism_META.py file. To modify buttons, Control-O to open a model, and in the file dialog, make sure to change the file filter to *_META.py
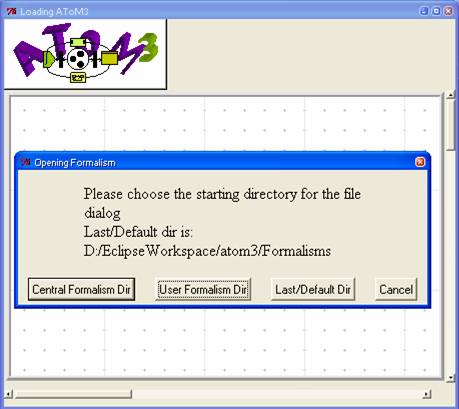
11) Using the generated formalism. After starting another copy of AToM3 (or restarting the current instance of AToM3).
a) Press F3 to open your new formalism.
b) Choose the correct directory…

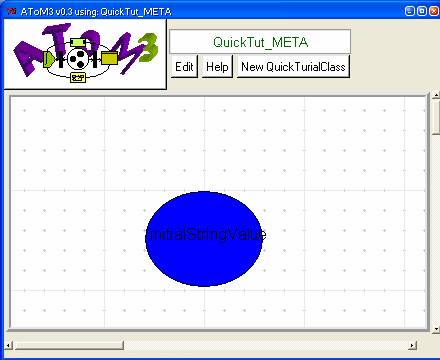
12) Once your formalism is open, go ahead and create instances of the classes defined in the meta-model.
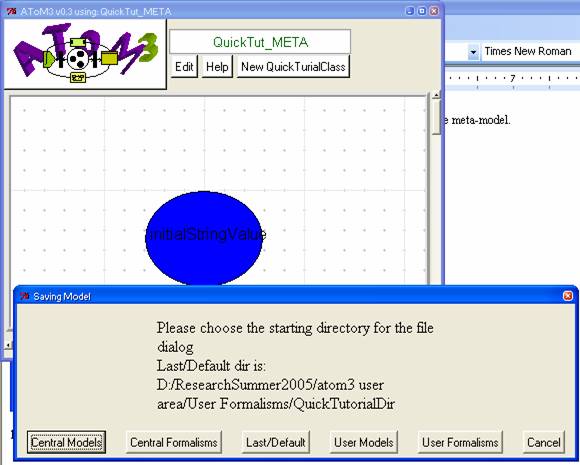
13) Now Control-S to save your model. You can save it anywhere on your HD that you like…
14) And now close AToM3 and open up the model again to see if it passes the sanity test :)
a) Sneaky trick: If you close AToM3, the path to the last model is dumped in the console. You can copy and paste that as a startup shortcut, in which case AToM3 automatically opens your model on startup.

b) Or you could just press Control-O and open the model that way.
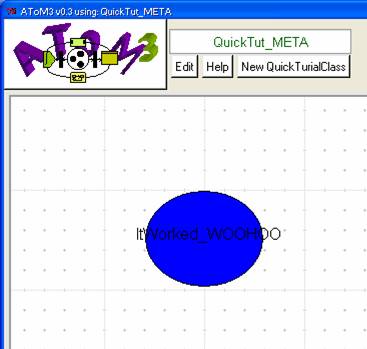
NOTE: This last picture is after loading the model and editing the string :)